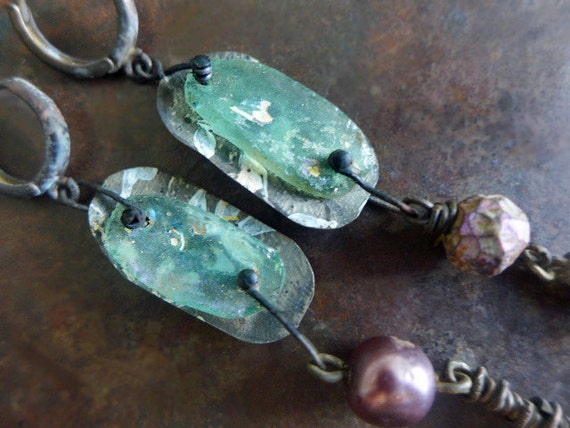
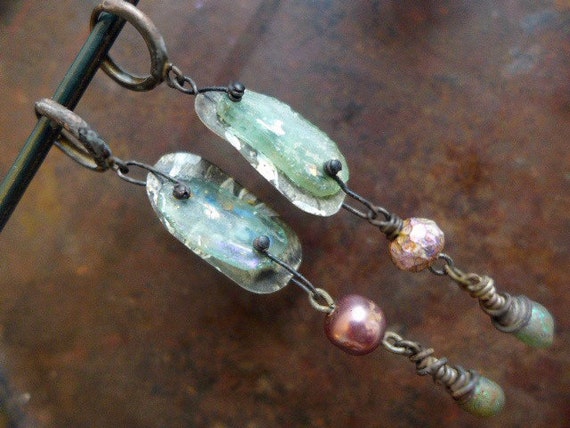
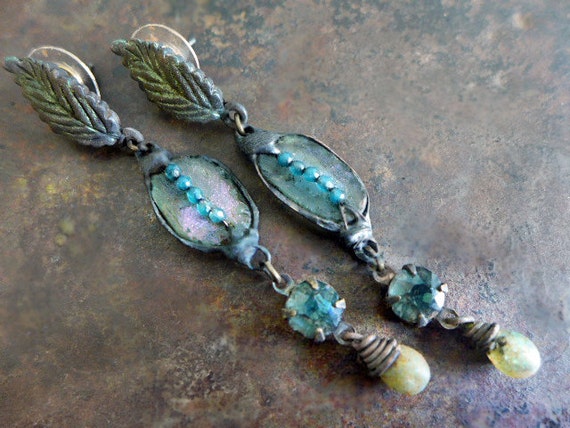
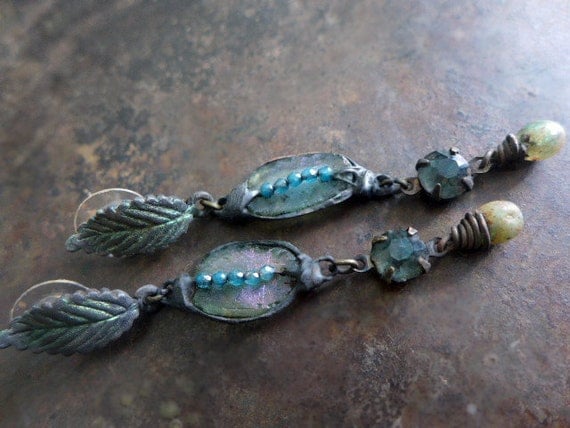
I've been busy preparing my stupid presentation on my stupid creative trajectory for my stupid University visit where I'm gonna be all stupid. I didn't realize just how much procrastination would be involved in putting this together. But I might be done so I snuck away to play with polymer.

OK, so now I have to come up with listings for these things as well as ... prices (*thunder sounds in the distance). Fuck. You guys! How what how? Like these I had to cook them, color them, sand them, seal them, that's not too bad.
But these for example are stuffed full of inclusions I had to slice and incorporate into the raw poly. OK, lemme tell you cuz it was fun. I found you could buy these finished canes on etsy for a buck a pop or less from, well I got
mine from Malaysia but you know, land of cheap things produced
en masse.
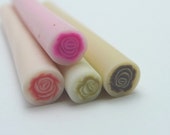
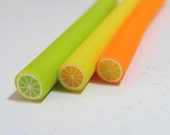
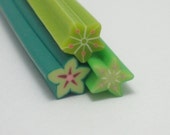
So I picked some who's colors I liked, sliced them in flakes lengthwise instead of perpendic like you're supposed to, chopped them a bit and mixed them up with some translucent clay that isn't
that translucent, it's just sculpey. Anyways, when I faceted and painted them, now you can see all these neat bits that give it a whole extra layer of complexity.

And really the price is not about how much work I put in, it was all fun anyways. Prices, as we should all know by now, are about
perceived value. Also there's a big random hole in the bead above right. Cuz I'm still new at this and well. That one bead has a big random hole. Should I remove it? The bead from the lot not the not the hole from the bead. I could remove the hole from the bead I guess.
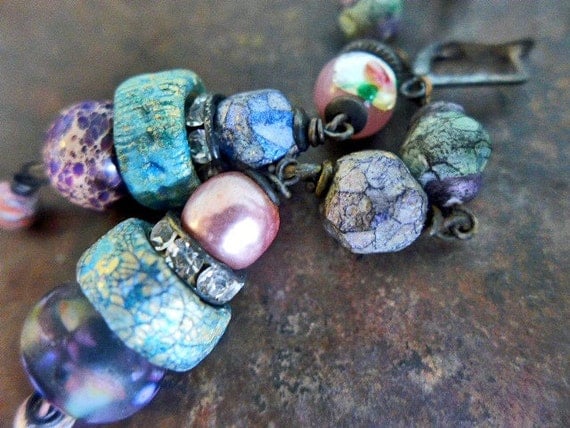
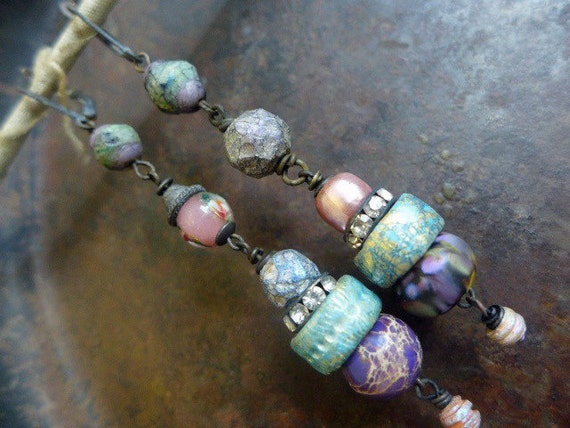
I think these big ol' gnome caps have to be my faves. I found this decade-old clay that worked great for this, held its shape real strong but wasnt' that impossible to condition. But yeah so I impressed this crackle texture with several stamps, then painted it this graduated color that lightened near the top.
But that's just cuz of the paint I happened to have on hand, I never have a plan. Then when they were done I remembered my plan was to facet. (Did I just say I didn't have a plan?) Oh well, all that painting and texture for nothing, but who cares, I'm experimenting. But then as I started faceting I saw that when the previous treatment was just left between the facets it looked 10x awesomer. When you experiment, and really any time, you have to let go of your previous work. It's part of letting go of that "I don't want to ruin it" instinct I'm always railing against. "I don't want to ruin it" will keep you in the ranks of the amateurs. But it will also keep you from doing this---
"Wait, what do you mean, Marina?..."

"These look fi-

OHMYGOD Penis Heads!"
I thought I was being clever coming up with a sort of split top thing. Next thing I know, wieners! Wieners everywhere! But hey, every mistake is a learning opportunity and here I learned not to make wienercaps. Maybe I should call them wienercaps. Cuz we all know how much we ladies like to have shlongs adorning our necks and lobes... ringing like bells, ding-dong. Shlong-a-dongs.
You've seen these, I added another little mis-matched bead to this collection just cuz.
And you've seen these. Is it weird all these beads are already wired? Cuz I'm so used to, you know, wiring beads I ended up doing so in the making process, just to have something to hold on to.
Now for some you haven't seen-
ZOMG Crackledrops! And yeah that one middle one has no crackles. I'm an artist I defy expectations!
Or maybe I'm just random. But also don't worry the super strong sealant keeps any cracks from just plopping off. What else?

OK so check it if I sell these with the tin you the buyer could make them into this. Ohmaigosh lookit my shmillustration how am I such an arteeeest?
Oh but plus I also have to destash in bead soups, inspiration kits and something I am marinating on which I'll call Stack Starters. Cuz the bangle stacks. Eh? Eeeeeh? Why hasn't anyone told me I'm clever yet?
I'm thinking of this one as an 'inspiration kit' because it has some very singular items that might cause you to make something you wouldn't normally. It includes a bead I made and this amazing antique rose carved bone from Kathystash as well as a gold-leafed shell and a bone cab with a leetle flower bud. So it's not destash in the sense it's not just a buncha things I'd just as well toss. Plus how it's united in color and mood. So how much should this cost?
Oh plus I gave those rose some pink glowy highlights. I need to crowd-source my prices, y'all. Or are you guys gonna be too polite to actually chime in with price points? How about you can say, "I imagine you could find that on etsy for $5 to $98" except you know, less of a range.
OK, the final inspiration kit might be too big. Cuz really there are really nice things here and it ... might end up being too expensive for a bead soup.
I call this Stormy Skies. Cuz I can. Click for bigs.
I think this raku fleur-de-lis focal is from
wondrousstrange. I backed it with a tin thats been sanded, oxidized and hole-punched then connected with wire links. To make something both protected and also just prettier. But you know, the original alone was probly $18, comparing whats in her shop now), so with the added work and all the rest of it? Anyone?
So yeah guys help a sister out.
 (I went to look for a relevant gif and instead spent an hour chortling on tumblr.) (I gotcher relevant gif right here.)


 And really the price is not about how much work I put in, it was all fun anyways. Prices, as we should all know by now, are about perceived value. Also there's a big random hole in the bead above right. Cuz I'm still new at this and well. That one bead has a big random hole. Should I remove it? The bead from the lot not the not the hole from the bead. I could remove the hole from the bead I guess.

 OHMYGOD Penis Heads!"
 OK so check it if I sell these with the tin you the buyer could make them into this. Ohmaigosh lookit my shmillustration how am I such an arteeeest?


