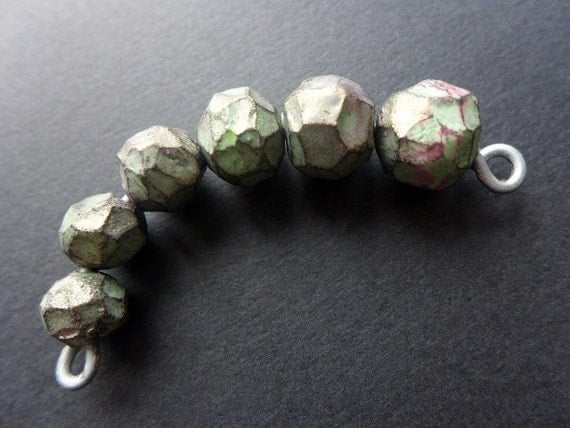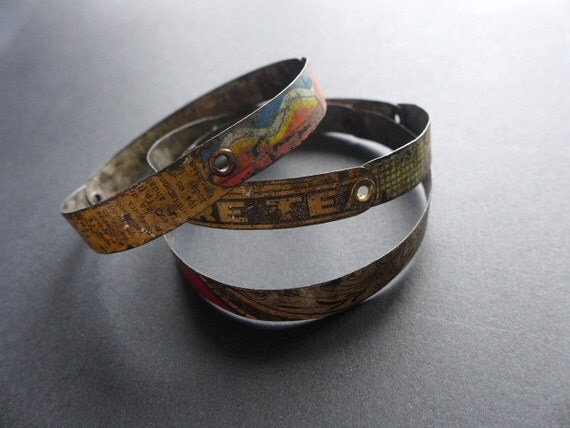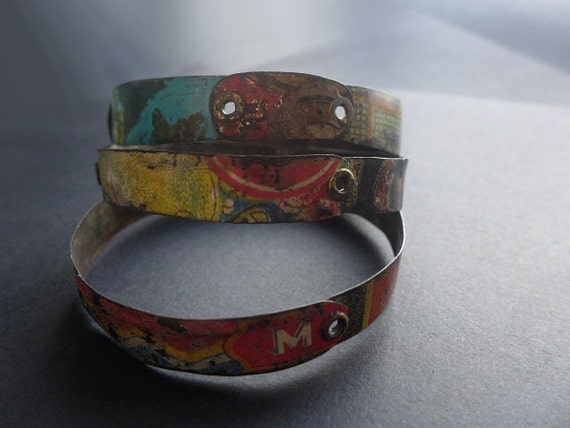







Have you seen this stuff?
It's called "gallery bezel wire" and you can find it on etsy. Being the creatively perverse maker that I am, I saw it and instantly thought of a cheat for setting coins, like if they're too thick or precious to pierce.
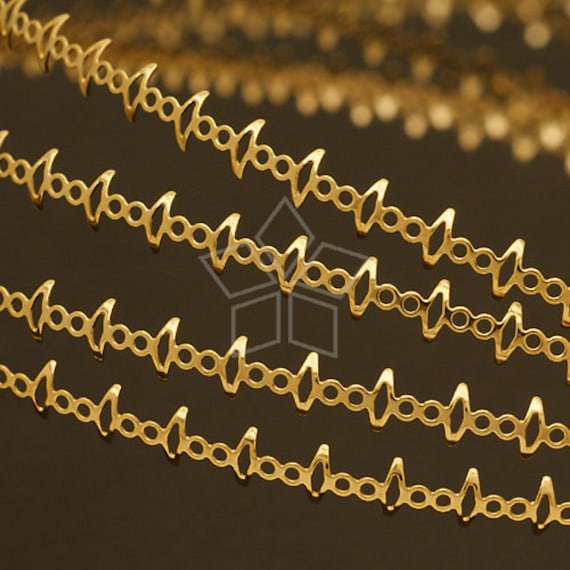

Wrap it as tight as you can around your coin to find where one 'eye' opening overlaps. (As you can see here, it isn't a perfect overlap so I chose to use the tighter holes rather than having the bezel all loose.)
 The overlap is where you're going to thread your pin.
 I used thick tin snips.
  Cutting one angle, then the other.
  And not worrying about sanding or nuthin'.
  On this one I decided to just use two connections.
 You can also do three, depending on what you're up to.
  So I mentioned the tight overlap- it took me lots of fidgeting and pushing to get the coin in after finishing the two connecting loops.
  But finally he was in. At this point, don't even realize you put him in tilted and that he looks ridic.
  Now you can bend down the little 'prongs'.
  Going around to all of them.
  Now do realize you put him in tilted and go oh shit then scramble for half an hour trying to swerve him around even though this is tight as balls.
  Finally get him sort of acceptable, even though if the connections were going north-south instead of east-west, you could've done more than a simple choker with him. But oh well. Here he is after oxing, polishing, sealing and putting in an actual piece.
At this point I was like, what a cool dude this is, I wonder what this coin is. Only then did I realize it was a 2011 Euro and that basically means anyone who's ever been anywhere near Europe won't find this cute at all but that's ok.
Here's the three-connection coin.


After oxidizing.... See, now it looks like I reversed the background and foreground from the last pic and I really didn't and it doesn't suddenly look like a light peach color. It's the frucking camera acting up. Oh also, the bezeling wire I got was anti-tarnish and the little bit of oxing I was able to accomplish was after a bunch of annoying sanding, so watch out for that if you buy some.
 I also got this awesome big-ass coin which I managed with lots of elbow grease to make slightly curved for a bracelet, Though you can't tell here. So I had these big brass circle things which I was able to cut down with snips, hammer and shape:

 I used my metal piercing pliers then I clipped some steel for prongs, again eyeballing instead of measuring.


Fitted them in from the back.
 Sat the coin in there.
  And folded the wires down.
 Then I straightened the wires to point directly to each other.
  Then I lifted them a bit so I could clip the excess off.
  Folded back down.
  So I guess before folding back down you can sand the sharp edges but I decided to try hammering at them instead. Had to use the mini anvil cuz of the curve.
  And it actually worked! yay.
 Here's the back
  And after oxing, a little buffing of the coin and sealing.
So. I was feeling so crafty and my comfy winter boots I've had for like 9 years came apart: And I'm like, sure these are all scummy anyways and I could drag my ass to the shoe place, but I got jewelry supplies!
And I'm like, sure these are all scummy anyways and I could drag my ass to the shoe place, but I got jewelry supplies! 


 They're as good as new. Not as pretty as new but you know.