


Have you seen this stuff?
It's called "gallery bezel wire" and you can find it on etsy. Being the creatively perverse maker that I am, I saw it and instantly thought of a cheat for setting coins, like if they're too thick or precious to pierce.

Wrap it as tight as you can around your coin to find where one 'eye' opening overlaps. (As you can see here, it isn't a perfect overlap so I chose to use the tighter holes rather than having the bezel all loose.)
 The overlap is where you're going to thread your pin.
 I used thick tin snips.
  Cutting one angle, then the other.
  And not worrying about sanding or nuthin'.
  On this one I decided to just use two connections.
 You can also do three, depending on what you're up to.
  So I mentioned the tight overlap- it took me lots of fidgeting and pushing to get the coin in after finishing the two connecting loops.
  But finally he was in. At this point, don't even realize you put him in tilted and that he looks ridic.
  Now you can bend down the little 'prongs'.
  Going around to all of them.
  Now do realize you put him in tilted and go oh shit then scramble for half an hour trying to swerve him around even though this is tight as balls.
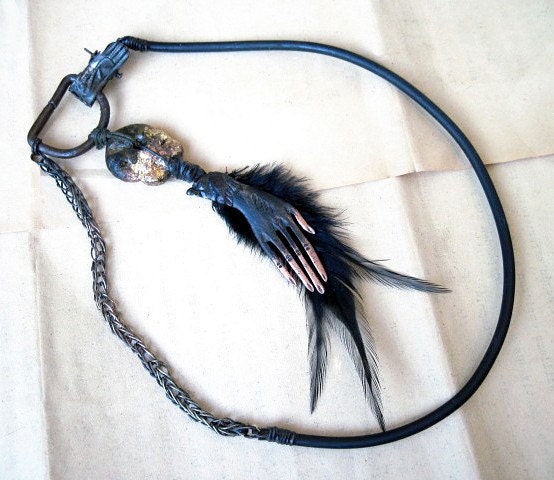
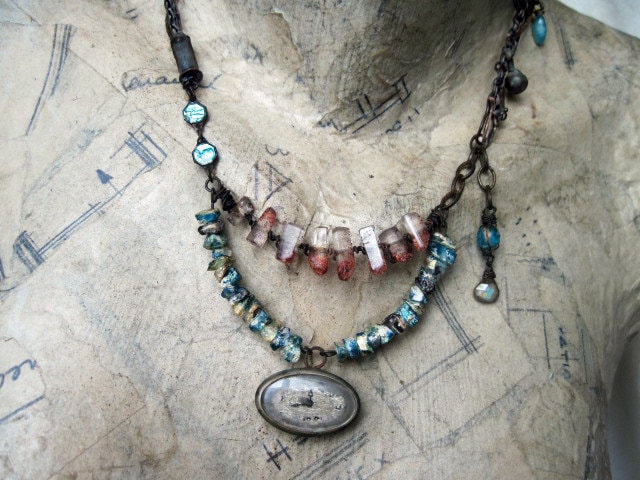
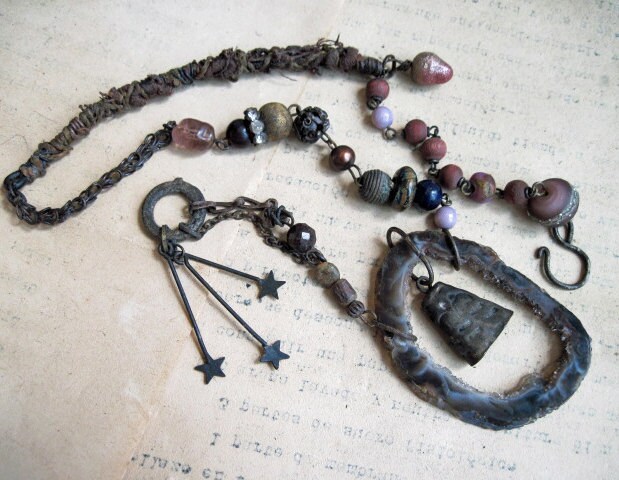
  Finally get him sort of acceptable, even though if the connections were going north-south instead of east-west, you could've done more than a simple choker with him. But oh well. Here he is after oxing, polishing, sealing and putting in an actual piece.
At this point I was like, what a cool dude this is, I wonder what this coin is. Only then did I realize it was a 2011 Euro and that basically means anyone who's ever been anywhere near Europe won't find this cute at all but that's ok.
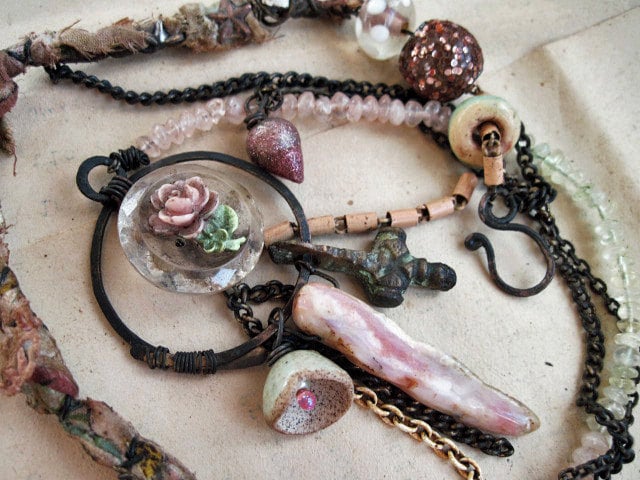
Here's the three-connection coin.


After oxidizing.... See, now it looks like I reversed the background and foreground from the last pic and I really didn't and it doesn't suddenly look like a light peach color. It's the frucking camera acting up. Oh also, the bezeling wire I got was anti-tarnish and the little bit of oxing I was able to accomplish was after a bunch of annoying sanding, so watch out for that if you buy some.
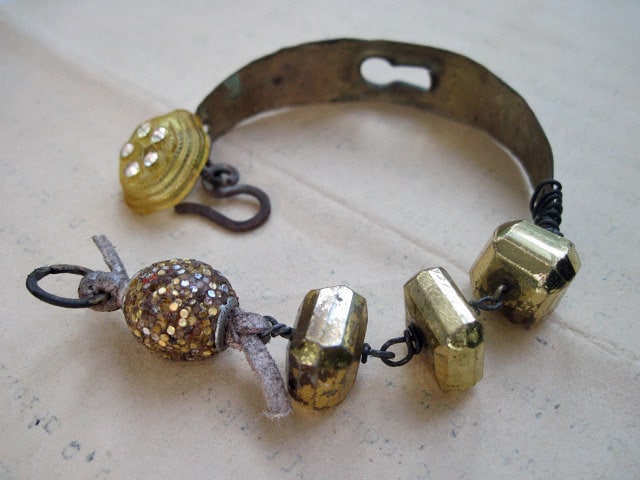
 I also got this awesome big-ass coin which I managed with lots of elbow grease to make slightly curved for a bracelet, Though you can't tell here. So I had these big brass circle things which I was able to cut down with snips, hammer and shape:

 I used my metal piercing pliers then I clipped some steel for prongs, again eyeballing instead of measuring.


Fitted them in from the back.
 Sat the coin in there.
  And folded the wires down.
 Then I straightened the wires to point directly to each other.
  Then I lifted them a bit so I could clip the excess off.
  Folded back down.
  So I guess before folding back down you can sand the sharp edges but I decided to try hammering at them instead. Had to use the mini anvil cuz of the curve.
  And it actually worked! yay.
 Here's the back
  And after oxing, a little buffing of the coin and sealing.
So. I was feeling so crafty and my comfy winter boots I've had for like 9 years came apart: And I'm like, sure these are all scummy anyways and I could drag my ass to the shoe place, but I got jewelry supplies!
And I'm like, sure these are all scummy anyways and I could drag my ass to the shoe place, but I got jewelry supplies! 


 They're as good as new. Not as pretty as new but you know.


16 comments:
Actually being in europe: I was surprised how much I like an euro coin after you treated it!
The bezel wire setting idea is just absolutely great! I will have to see whether I am able to get it somewhere and start playing with it :)
Thanks! You can get it on etsy.
Great post, and love your bezel settings!
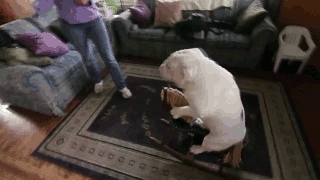
Oh, and that dog? He's NUTS.
Thank you for these cold connection tutorials - always good to learn new ways! :-)
Kirsten
You are so imaginative and generous.
Thanks for sharing love it.
Your awesome big-ass coin is an old British penny. The front is actually the gent with the beard, King Edward the 7th. The back is Britannia with her trident and shield. Must admit she is a more attractive option to decorate a fanciful device.
The euro coin is italian with a portrait by Raphael of Dante Alighieri, and that is very cool!
So much amazingness in this post. That bezely wire stuff is great. I'm definitely going to have to search for some. And your other setting is super cool too. Thank you SO MUCH for sharing this info. Here's hoping your boots keep you nice and warm :)
I love the way your brain works!
Also, I've found Plumber's GOOP works to put boots back together as well.
Thank you so much for the info on the bezel stuff. That's fantastic!!! There's a coin dealer across from my table at the market and I have been trying to figure out how to incorporate some of his old Roman coins with my old Roman glass... whoo hoo.
And LOVE THAT DAWG!!!!
B
Hokay... I just ordered 5 metres of that bezel stuff. Plugged it into Etsy, as you said, et voila: lots and lots of listings. It's not even expensive, which is such a shock. Now to haunt my mailbox out on the highway...
I dunno how I've missed this post...maybe it has to do with the craziness of room remodeling I'm going through...anyways...I LOVE bezel wire, and it can be expensive though, especially if it is silver...but brass is a tad more affordable...
I just wanted to share this site too, it has some pretty ones...I have not ordered yet, but I plan to one of these days...
http://www.fundametals.net/zenFMp/index.php?main_page=index&cPath=104_237
great site for other jewelry making stuff too ;-)
this is a cool story!
http://www.addictinginfo.org/2015/01/26/poorest-president-in-the-world-gives-hitchhiking-plant-worker-the-ride-of-a-lifetime-video
Great info! Also, I enjoyed your casual writing style (big-ass coins, tight as balls) it's nice to be entertained as you learn :)
Thanks so much for the tutorial. I purchased some gallery wire a while ago and couldn't figure out how to use it, since it was not sterling silver, I couldn't solder it. But now I have a whole new way of using the wire! By the way, I love your sense of humour!
This is very cool, thanks for sharing the technique! I was despairing of ever finding any sort of coin setting I could afford (the ones designed for this are worth a lot more than the coins and don't come in all the sizes/shapes I'd need anyway). Looking on Etsy I found some that are made with just straight-up raw brass, as well, with no anti-tarnish coating of any kind... might be better for when you're working on applying patinas. Thanks again for sharing these ideas, I always feel kinda weird about punching a hole in a coin, even if it's a pretty worthless coin. :D
Post a Comment