
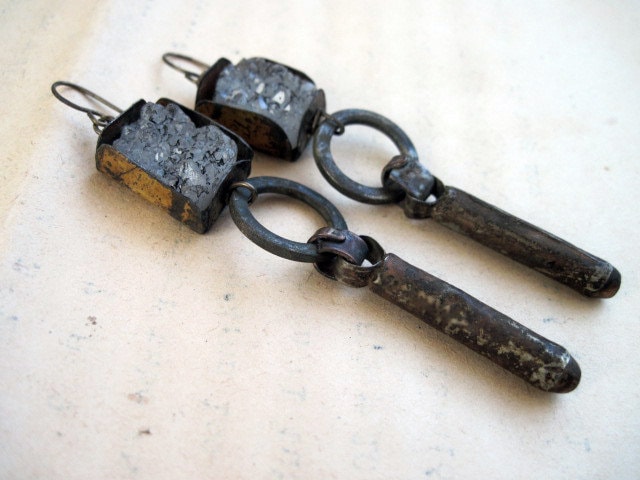
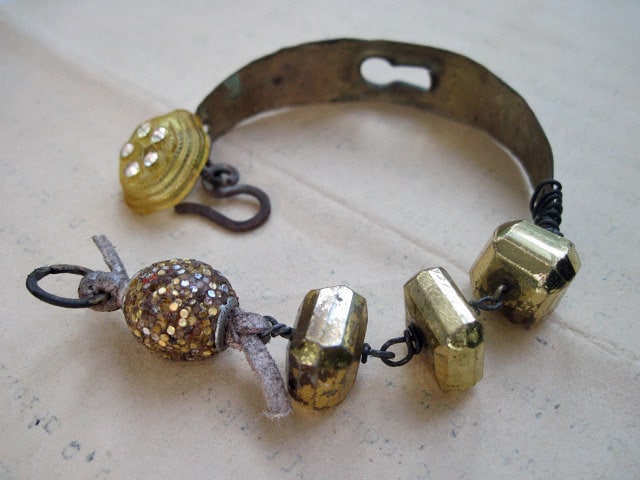
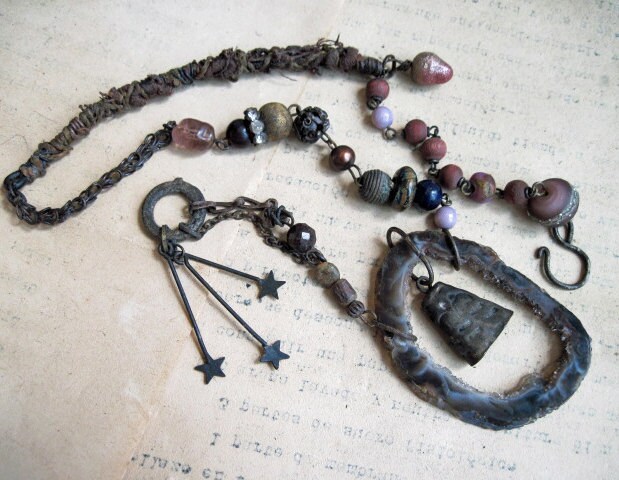
Added some pix of some pieces with cool connections, like this one above from Tribalis

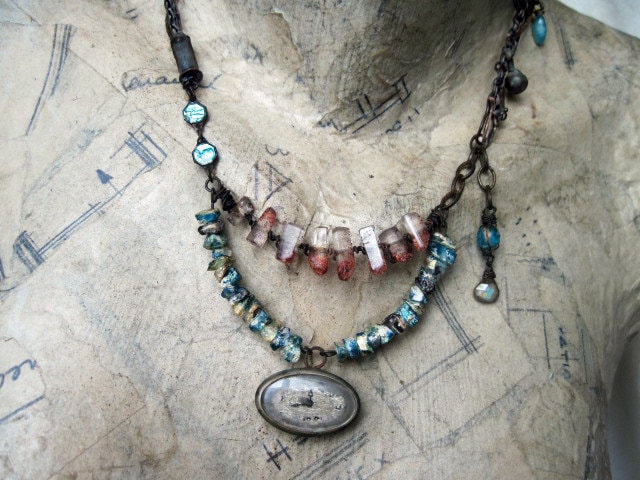
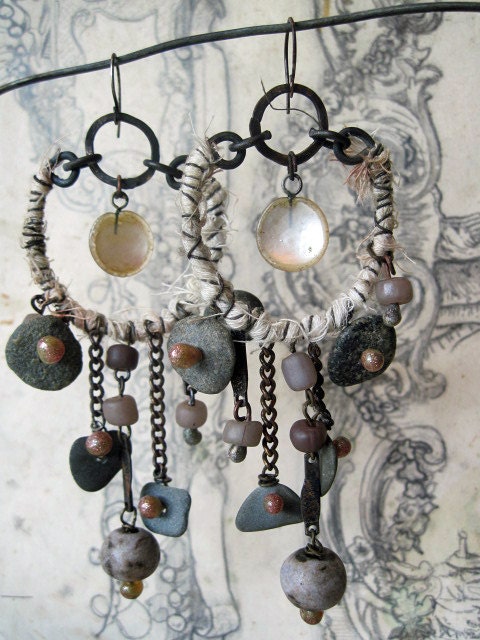
And this one from pipnmolly- mistress of creative connection innovations.
And about a million others. I asked Tribalis to explain how she had connected these:

since it had something in common with my earlier explanation of this guy:
 Which if you'll remember came with its own diagram:
 And instead she went and made a whole tute and posted it on the forum with pictures! And since we all love free tutes, Imna share it here.
Here's what she wrote:
Hi people. Fanci suggested I explain how I made the connection between the wire basket, the stone and the wire that goes through the sheet metal.
I thought that it would be great to take some photos to show it and I did...

We start with 2 holes and the thicker wire

Here you see the other side, by now there are 4 holes, and wire ends formed into loops.
-->Before you start the basket, the fine wire has go inside the pierce of the stone about 3 or 4 times, so the stone will be very secure on the sheet metal. Be careful to not break the stone, don't force the hole. Depending on the diameter of it, just go 3 times through the hole with the wire.
Here is the back as you wind the wire through the stone and sheet metal.

Here is the front with the wire already through the stone 3 times.

Start the basket.


The wire has to go around the stone maaaaaany times and also through the little loop made with the thicker wire.

The loops will hold the basket.

:) Hugs to all , thanks Fanci for posting my jewelry here.

OK, I changed the order of the pix and steps a bit to clarify. And maybe fixed a bit of the English but only because I taught English for, like, 13 years and just couldn't help myself. If you want the original much cuter version, you'll have to go to the forum. There, you can see more of the pix I put up of inspiring connections. I hope you'll share pictures of pieces you've seen about the web with connections that inspire you. Cuz I want more pretties to look at.
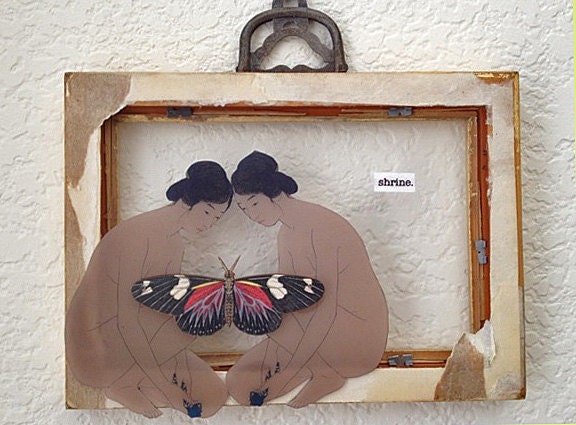 So now I gotta plug her shop a bit.
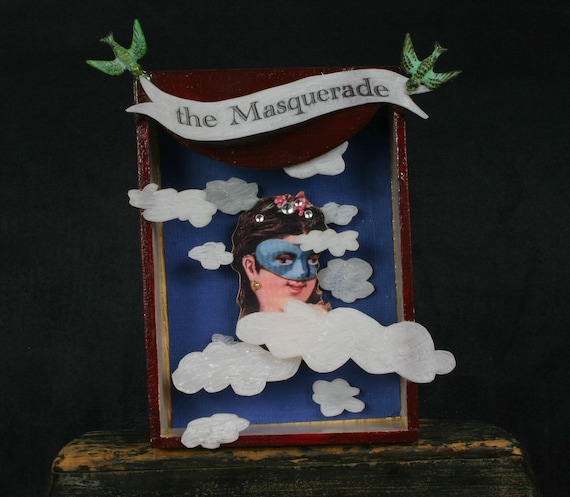
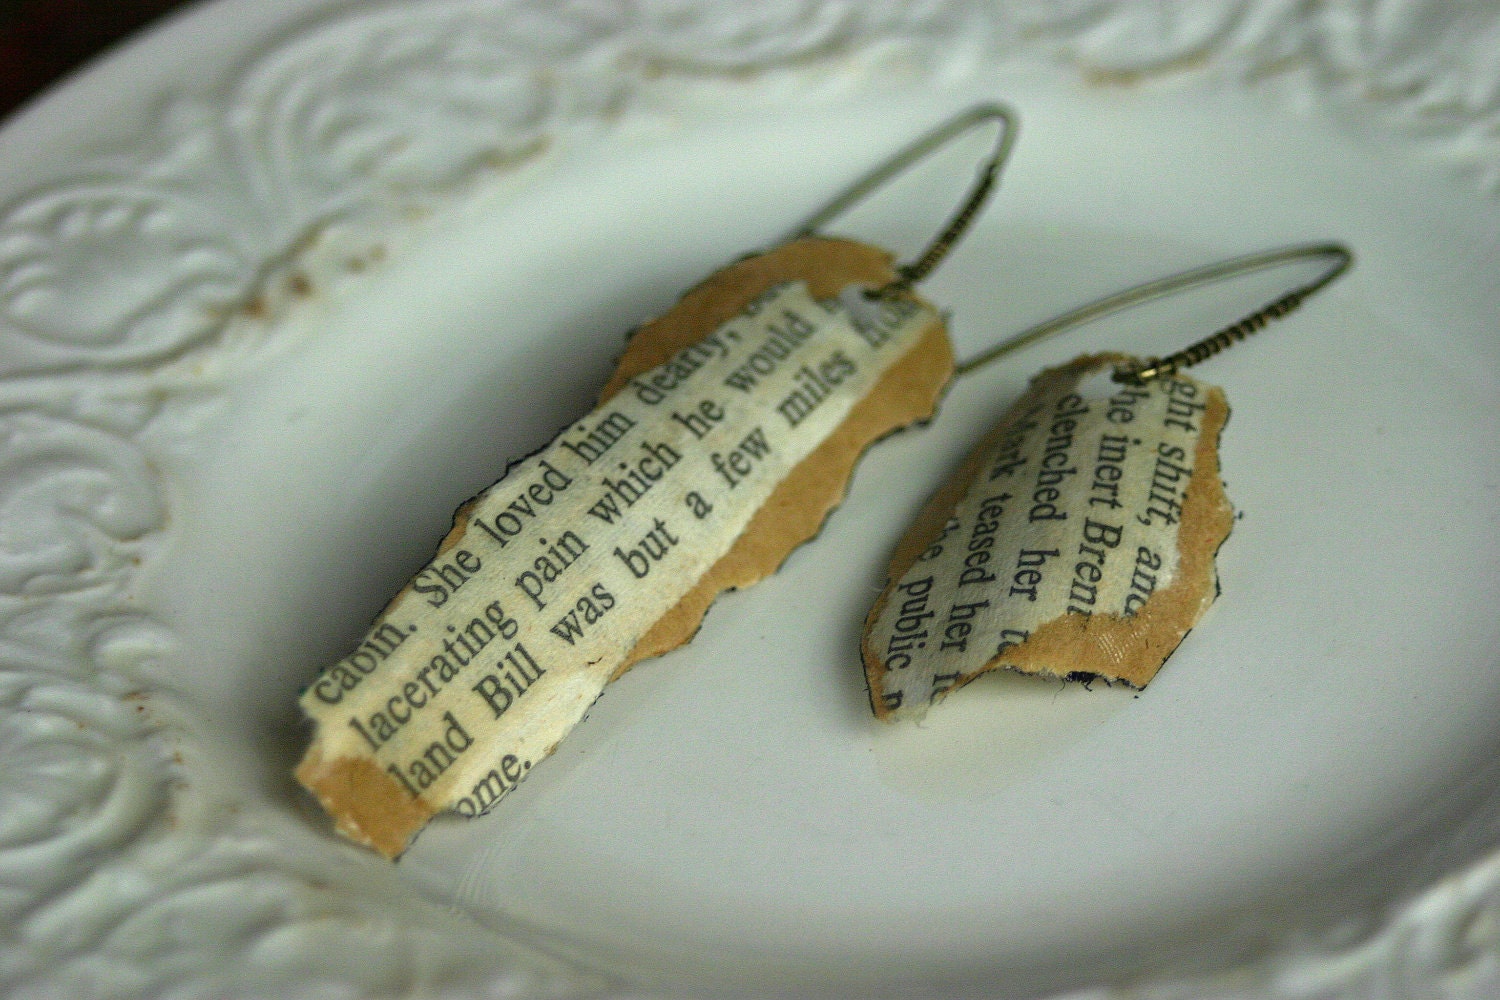
So go there if you wanna get some free goodies while relieving yourself of some over-stash.
Later beaches!
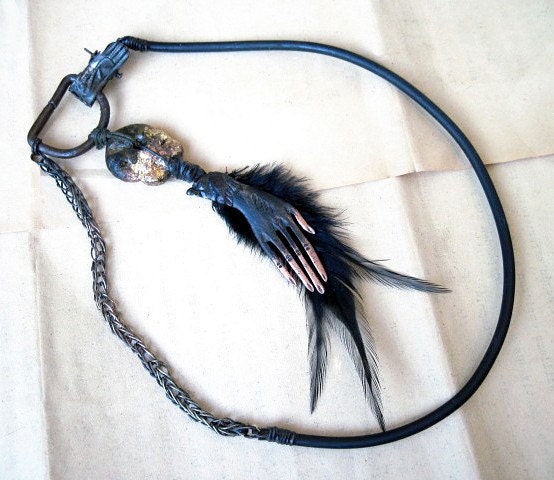
WAIT! PS- I got a question about oxidizing rhinestone settings. I do it all the time! It really enriches the look of the piece (like here and here). However, if it is silver plating, that is the hardest to oxidize and you may want to soak it in your oxidizer for a long, long time.








13 comments:
I am like a kinnergardener compared to all the fine ladies who come to the Fanci dee crib and show how to do connections and x cet er a and am in jaw dropping awe of the some the stuff yu'all do...I stuck beads on a headpin for years and called it a day... But now I blow up the pitch and STUDY them and then pretty much copy I mean get inspired by you all.
mis-typed and reposted
thank you tribalis and fanci for sharing such wonderful techniques on cold connections...tribalis' pretty nail polish matches that rose card on your sidebar beautifully! :)
I suck at comprehending instructions.. seriously majorly suck at it... like.. everything written to teach is deciphered by my brain into stereo instructions that were written in very bad English ... so, that explained, I understood your sketched out bird instructions just fine :) However, the photo tute from Tribalis rocks :) ...damn.. okay, pun not originally intended, but...what the hell ;)
It may be that one of the problems with oxidizing rhinestone settings is that they often have rhodium plating -- from the days when people wanted their metals bright and shiny. Rhodium won't oxidize -- you might have some luck with steel wool removing it but that also might damage the settings. Rhinestones are most often set with (or horrors) glue!
Love your tutes ladies! Perfect for my visual learning gene.
Thank you!
Fanci, Thanks so much for the plug sista! I really appreciate it! I think the swap will be super fun!
Seriously cool tutes friends. Wow, I have an assemblage art piece I'd like use that technique in... and a bracelet. Thank you!
Thanks to Tribalis for sharing her method - I am in love with that basket setting...
Fanci, you did great!
Thanks for: sharing(one of the best qualities you have) and correcting my English of course.This way I learn more.
Ladies, welcome, it is a pleasure.Don't forget post on the forum photos of the jewelry if you make something with this basket bezel technique. All of us will love to see.
*Corvid, my pink nails..ha,ha,..I told Fanci that it is just a way to help me carry my 40 ones in my back (41 to tell the truth!). Just kidding, I like(occasionally) this color!
Love, love, love for all..
Wow, that basket is SOOO clever!! The real question for me is how to get the hole through the stone without completely demolishing it!! I can follow the instructions, but as my father always said, i have hands like sledgehammers!!
Fanci, you absolutely do Rock! What a spirit of sharing you sprinkle through the universe. And,thank you Tribalis for your sharing. I am being serious here - I don't know if you really understand how precious and rare that is. And, when you throw that spirit out into the universe it can't help but be returned to you many times over. You have contributed so much. I hope you both get filthy rich from your work - you deserve it.
THANK YOU THANK YOU THANK YOU.
pipnmolly that is absolutely brilliant, it's a nest bezel. I can make flat backed lampwork beads, and I have always wanted to put them in a bezel of some sort.
Thanks for your generosity.
Sorry Tribalis that thank you was meant for you, but I love your design as well pipnmolly.
Post a Comment