 Build a Fire.
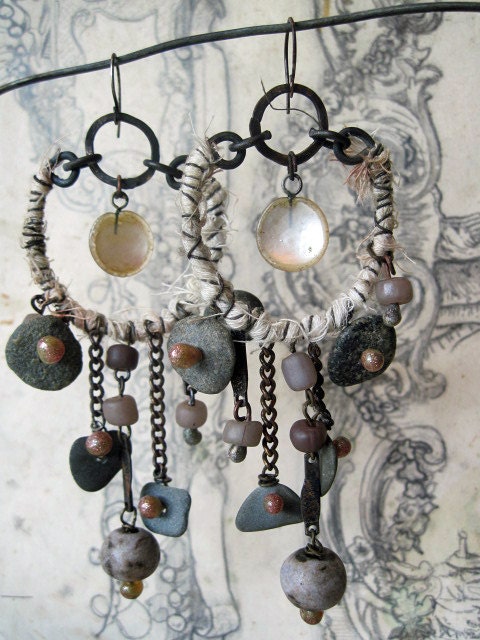
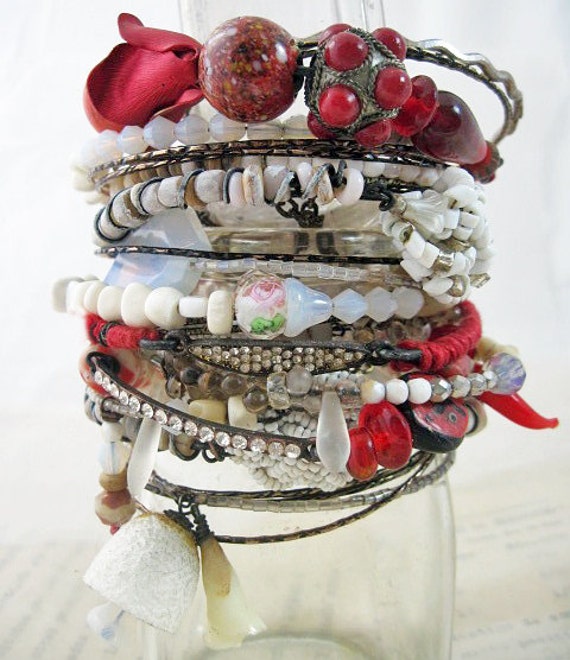
New stack. Red and white. Obviously. Can I share the quote I chose for it?
Build a man a fire, and he'll be warm for a day. Set a man on fire, and he'll be warm for the rest of his life.
-Terry Pratchett
I made some new faux mercury glass and thought I'd take some pix as I did so. We all love these step-by-step photos, they're just a pain to take.
Supplies on wax paper. OUTSIDE. I Ordered these beveled triangles thinking they were about a third of this size. Cuz even us pros forget to check the size sometimes. Well, I've decided to go for it and see what happens.
Here's everything spritzed with water.
And over that, sprayed with the silver stuff.
I've decided that it's when you try to blot with tissue/napkin that you ruin the cool bubbly effects.
Though in the case of this little slide I did rub off a lot of the silver after it dried because the ephemera I'm using is interesting enough not to need much more.
See? Now I'm thinking I shouldn't have done anything to the glass at all. Damnit. Oh, what you see here is some gilder's on the tin as a failed experiment. (And photos taken under dining room lighting, very weird yellow glow.)
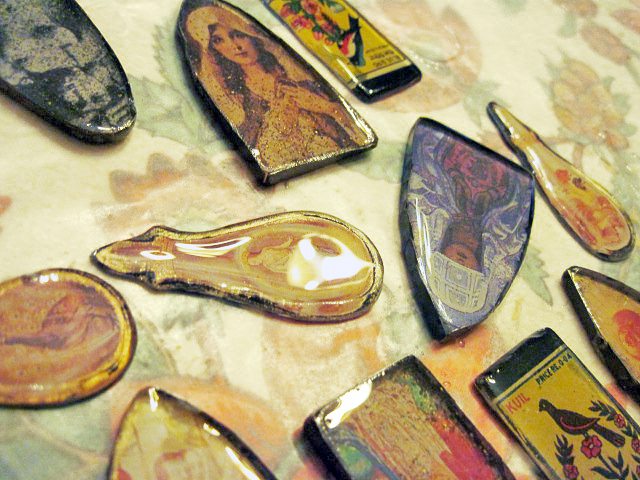
Anyblerg, here's some locket lids.
And a close-up on one of the the triangle glasses.
Here's the wire and tin.
The bottom corner was fine, but the size of the tin and my stupidity made the top two look like so~
So I thought I'd secure and camouflage with some wire wrapping.
Like such.
Better?

And then had to do the bottom to match. After oxing it all, it will look much better.
Meanwhile I also did a ton of resin.

Here's some lined up shrine-shaped cut-outs glued on to thin tin.
After turning up the edges I used regular old tape to keep the resin in.

After curing and pulling off the tape and cutting down the tin edges some. It's still going to need the edges to be taken down further and maybe another resin layer to dome the top.

These I did using tin foil and tape for the edges. As you can see, it needs a lot of trimming and sanding before the shape will make any sense.

Here's this one with it's little foil house.

I have to get in the habit of just using tape, the foil is completely resined on.
Here's as much as I was able to get off with my hands, next comes scissors, exacto knife and lots of sand paper.

My best by far was this one because a few hours after the resin had started to set, I scooped some out of a little shrine on to this. It was partially cured, thus much more viscus and could stay on this without pouring right off. No need for foil or tape housing, no need now for trimming and sanding or a further layer to dome the top.
Which I will need to do to all these. Though it's a very satisfying process and I don't really mind. I can't believe I even said that, I'm usually in such a rush.
Did a couple tin bezels.
Basically I realized the glass I have is WAY too thin to withstand the pressure applied by my pliers as I shape the tin around it. (by the way, once I sand and oxidize the tin it will look much better.)
So here I added a thin layer of resin over the top to sort of heal and protect the crack. Worked Ok.
Did the same here. As you see, the resin made its happy way under the glass and produced a massive air bubble.
The only way to save this I can imagine is to thy to get resin under the glass to completely fill that bubble. Even if that were possible, now the tin is resined in place... ....So fuck.
I think it took longer to take and (sort of) edit the photos and write this post than it did to do any of the work described. Also Dad-in-Law came into town last night so there was a whole cleaning and cooking extravaganza. (Full disclosure, Mom did all the cooking. I mean, please. I was busy covering up the fact that we live in a pile of dog hair.)
Meanwhile in owl news.


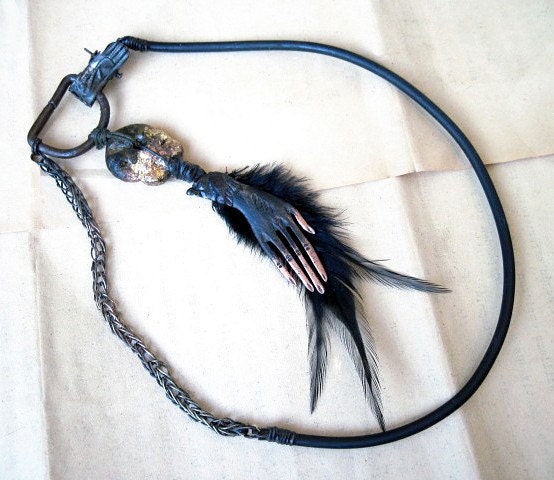


 Here's these and those below with regular bezels and glass. And a buncha little bits.
 A very mis-matched pair with bits from a Nicky Butler necklace.


 Added wire for bails but don't know yet if these will include a bead or be attached to a closed circle, so I haven't finished them. The king in space can be mounted on a piece of tin with some cheaty wire prongs since it's just on paper. The royal angel mutants at the bottom center might make an earring pair too. Some of these might even be hung from a pin as a brooch. Many options to consider...