


So I'm mucking around in my barely-lit computer room/bedroom, trying to make stuff even though each time I need something I have to get up and run around the whole house. Which is just why I got into jewelry- cuz I'm so into physical activity.
Anywho, if you memorize everything I babble about here- and why wouldn't you- you'll remember my dad-in-law brought me some buffalo teeth. (OK, nonsequitor: countless of my ESL students admitted to having thought the in-law suffix was actually "in-love" as in father-in-love, mother-in-love. Much more romantic than the truth.)
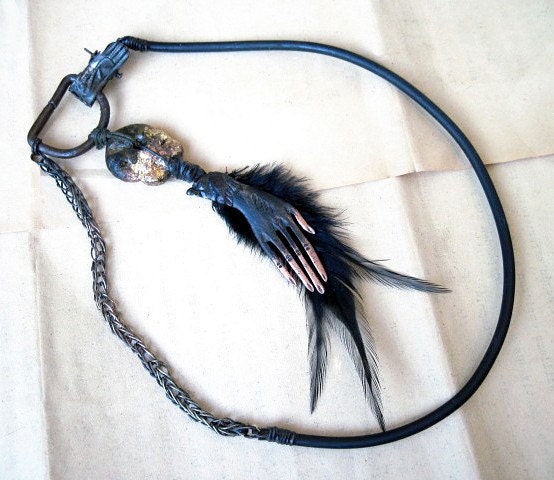
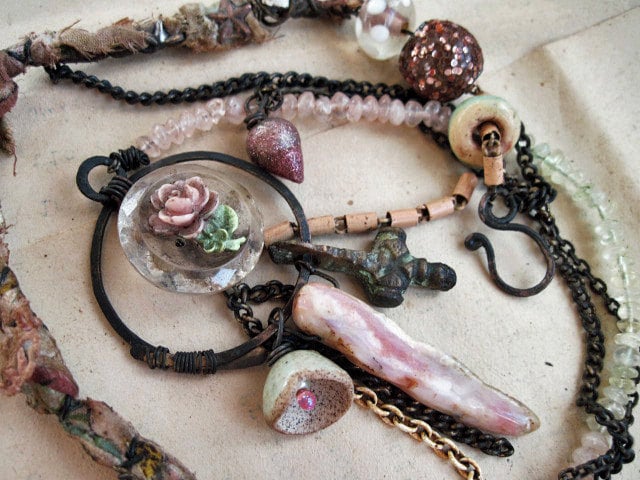
So these teeth were interesting because they had 2 drilled holes and a hollow tube root, giving many options for interesting connections. I really like the look of beads drawn in sterling or copper wires as connectors like so:

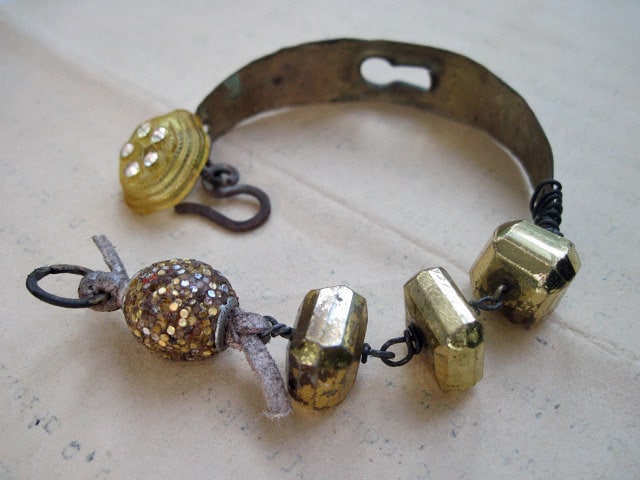
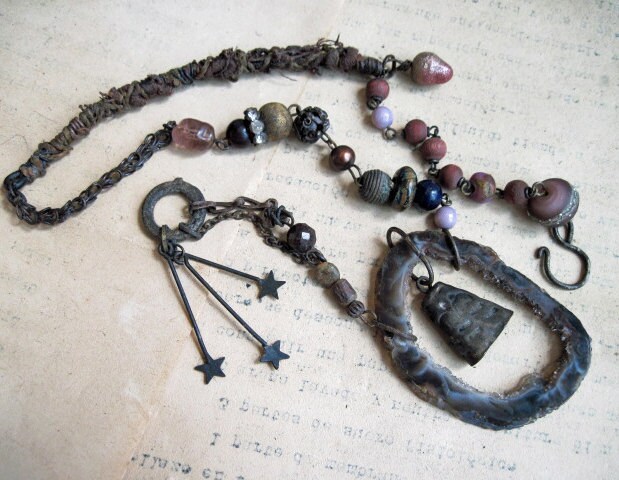
From mythicsilver.
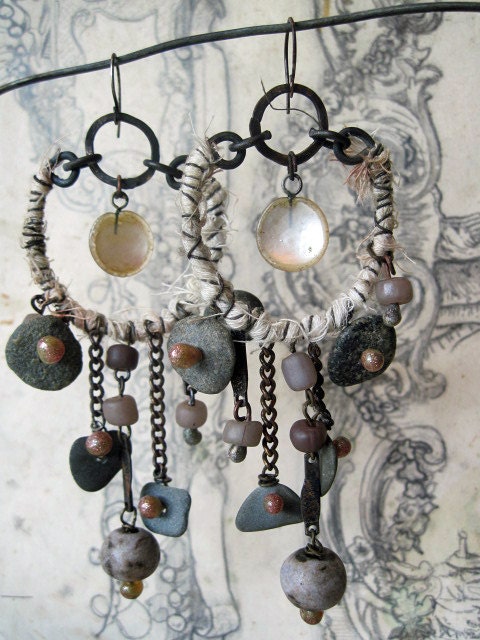
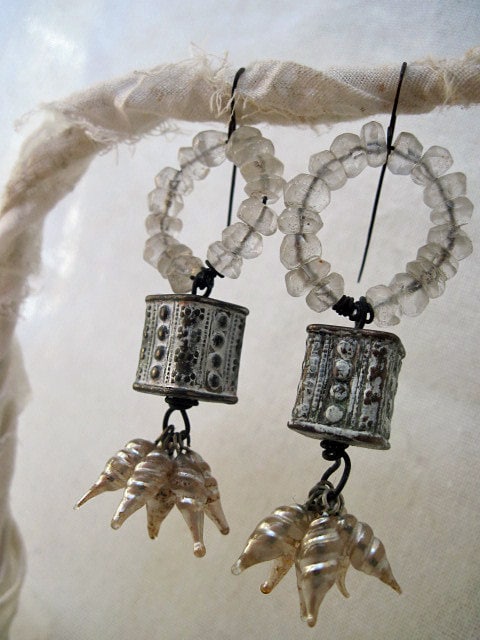
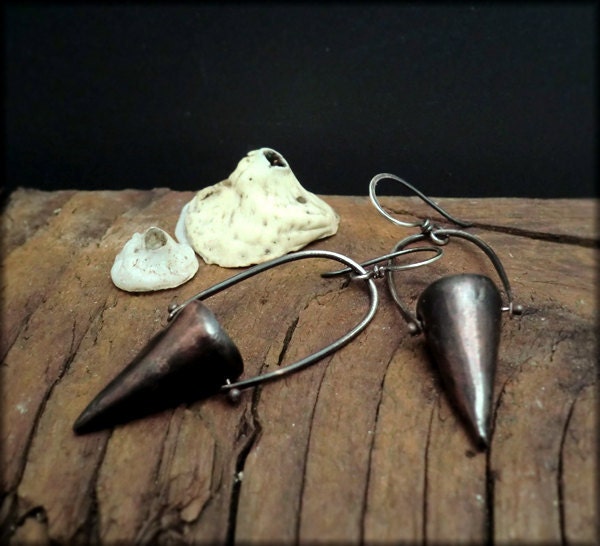 <--Or these from Experimetal.
However, the thought of whipping out my torch which doesn't work and how to draw a bead right against another object without burning or melting that object, etc.... It's just a whole 'nuther can of worms. And I have so many cans of worms going, I hate to open a 'nuther.
So here for your viewing delight (and Sparrow's horror) is my fake fakey cheat version of this look. (Excuse the low light photos.)
You'll need this to start:
 A tooth or something else with 2 holes in a hollow tube section. Some wire. Ball head pins. I got these because they have larger ball ends, they're cheapo, and I like short head pins so they're quick to wrap and you don't have to stop to cut them. Every second counts when you are as frantic in your making as I am.
 Notice I've folded the wire to make a small loop at the end so that it'll fit into the tube root. Small enough to fit, big enough to thread the head wires through. It might help to twist it. Or not.
Here the first pin is through the tube and the wire. FYI, it's much easier than threading a needle.
 And the second.
It just so happens that in this case the hole is rather larger than the ball. Now, you could keep it from slipping through with a little spacer, a heishi, a little gemstone rondelle or even a single sequins! You could enlarge the ball by dipping it into UTEE or resin. Or, you can do as I did and wind the wire at the base of the opposite pin's ball.
And yes, each time I say "ball" it's making me think of testicles.

So. As you can see, I've wound the wire using my handy crimp-nose pliers. I always use crimp noses for everything- the flat kind simply don't grip the way I need them to. While the crimps do mar the surface of your metal, I'm going to douse everything in oxidizing sauce so I don't have to worry about that. If anything, scratches give the chemical something to work into.
You can also see I've cut a bit of metal sheet. I'm using the kind that you can emboss by rubbing with a stylus or pencil or whatever, so it's very easy to cut with scissors. This piece has verdigris because every time I use my oxidationizer, any bit I have left I always look around for something to slather it on- I dont like to waste a single drop of it.
 Here I've shaped the metal into a rough cone. Super easy since the metal's so thin. I could look for my round-nose pliers for a more perfect shape, but the whole point of making things by hand isn't for the perfect look you get from factory made. Duh.
 And here I threaded it through the wire which I finished with a wrap. I blurred out a bunch of shiny scratches my pliers made, but after I make these into something I'll be oxidizing again, so those won't be an issue.
Wanna see another angle?
 Yeah, I know, you can barely see it in this lighting. Oh well. And while it doesn't look exactly like the inspiration, I'm thinking that's because I had to wind the wire so the ball ends wouldn't slip through.
 Alternatively, you can punch holes in the metal cones and thread through those as well. You could, if you have a bit more maneuvering room, use long head pins and aim them them out the tube end to serve instead of the wire I used. That would be much easier. Also, you can cut the sheet metal out of an old patterned tin. Heck, you could just glue the tooth into a cone. You could also just use a single eyepin instead of the 2 head pins, making another loop at the other end and using those for the connection with no cone. You can even do the Hokey Pokey and turn yourself around!
I do so love neat connections- don't you?
Know what else I love? All y'all's sweet comments! Welcome new commentors Jane Perala, Aqua Junko Artworks and Michelle York (you're not new new, but I never said hi.) You guys make me feel so good!


7 comments:
Imagine the possibilities, how would it look with your utee head pins or those lovely lampwork head pins. I've got some gemstone dagger beads I'm going to try with this
Hi! Love your post. I would have never thought about connecting like that -- how cool!Thank for showing it! Lori
Hi back..You are so generous! Your site sets up the tone of the day for me. Keep creating!!
Oh my goodness, this "lesson" is so awesome that I did the Hokey Pokey and turned myself around two complete times! Thanks for always sharing your incredible stuff with us!
...Jackie
Me too...a hokey pokey-ing all around the place.
Love you, your blog, your creations, your tutes, tips, where to buy. Seriously, you rock!
I love how you "cheat." It's very inspiring. It seems to me good design (like yours) starts with great connections (like yours). Awesome as usual!
Really sweet solution for the drawn bead dilemma. I'm with you on being torch challenged and think this is an excellent job of problem solving ... for me just about the best part of making jewelry is figuring out this kind of stuff. Well done!
Post a Comment